
How to Repot Houseplants: 7 Steps to Prevent Root Shock

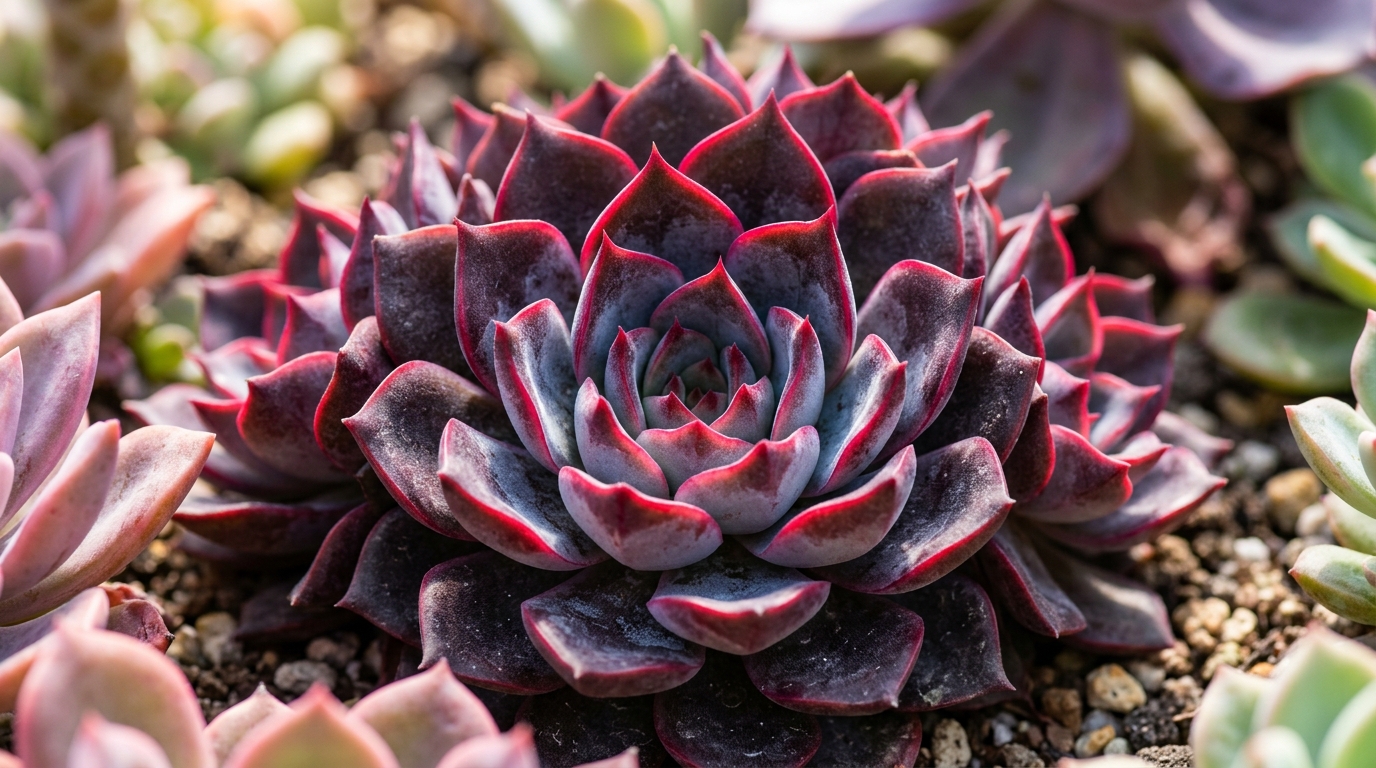
Learning how to repot houseplants is the ultimate restorative skill in indoor gardening, transitioning root-bound, nutrient-depleted specimens into flourishing botanical centerpieces. When an indoor plant remains trapped in the same container for too long, circling root coils deplete available soil minerals and eliminate air pockets, resulting in chronic stunting and moisture stress. In our greenhouse trials, repotting at the correct seasonal window using aerated, high-drainage substrates completely prevents transplant shock. Follow this step-by-step horticultural guide to revitalize your collection safely.
| Diagnostic Parameter | Dennis’s Observation | Corrective Action |
|---|---|---|
| Roots Emerging from Drainage Holes | Subterranean root mass has exhausted container volume. | Upgrade pot diameter by 2 inches; tease circling root coils. |
| Water Channels Straight Through | Peat substrate has become hydrophobic and pulled away from pot walls. | Unpot plant; replace degraded peat with fresh aroid bark mix. |
| Post-Repotting Foliar Droop | Transplant shock caused by aggressive root hair tearing or dry soil. | Hydrate thoroughly; keep in bright, humid, indirect light out of direct sun. |
| Stagnant Water in Oversized Pot | Potting up more than 3 inches leaves excess wet soil without roots. | Downsize container; follow the strict 2-inch upgrade rule. |
Table of Contents: Jump to a Section
- Root Architecture & Signals That It Is Time to Repot
- 7 Proven Steps: How to Repot Houseplants Safely
- Container Physics: The Golden 2-Inch Upgrade Rule
- Substrate Porosity: Protecting Fine Root Hairs
- Post-Repotting Recovery: Lighting and Humidity Care
- Frequently Asked Questions (FAQ)
Root Architecture & Signals That It Is Time to Repot
Healthy root systems require an equilibrium between water absorption and oxygen gas exchange. Over 12 to 24 months, organic potting soils decompose, compacting down into fine particles that choke out macropores. When plants become root-bound, taproots and lateral roots hit the container boundary and begin winding in tight spirals.

According to practical cultivation guidance from the Royal Horticultural Society Potting-On Guide, potting up by only one pot size (2 to 3 cm in diameter) prevents excess wet soil from stagnating around root systems.
7 Proven Steps: How to Repot Houseplants Safely
Step 1: Water Thoroughly 24 Hours Before Repotting
Never repot bone-dry plants. Watering your specimen the day before ensures root cells are fully turgid and flexible, minimizing breakage. Furthermore, moist soil slips away cleanly from plastic pot interiors.
Step 2: Gently Extract the Root Ball Without Pulling the Stems
Invert the pot while supporting the central stems between your fingers. Squeeze flexible plastic containers or tap the rim of terracotta pots against a wooden bench until the entire root mass slides out intact.

Step 3: Inspect and Prune Diseased or Rotten Roots
Examine the exposed root ball. Healthy roots are firm and pale white, cream, or light tan. Snip off any dark brown, black, or mushy roots using sanitized pruning shears to prevent pathogen transfer.
Step 4: Loosen and Tease Circling Root Tips
Use your fingers or a sanitized chopstick to gently tease apart the bottom 2 inches of the root mass. Freeing circling root ends breaks their circular memory and encourages them to branch into fresh substrate.
Step 5: Add Fresh Substrate to the New Container Base
Add 2 inches of pre-moistened potting mix to the bottom of the new pot. Center the plant root ball so the top of the root flare rests 1 inch below the container rim, leaving ample space for watering.
Step 6: Backfill Substrate and Settle Air Pockets
Fill the perimeter gap with fresh soil. Gently tap the base of the pot on your worktable to settle the medium without heavily pressing or compacting with your thumbs.

Step 7: Water Thoroughly and Place in Warm, Filtered Shade
Water gently until moisture drains from the bottom holes. Keep the plant in warm, bright indirect light away from direct sun and drafts for 7 to 10 days while fresh root hairs establish.
Container Physics: The Golden 2-Inch Upgrade Rule
One of the most dangerous mistakes is placing a small root ball into an oversized container. Unoccupied potting soil holds excess water like a sponge. Without living roots to drink it, this cold wet zone quickly turns anaerobic, breeding root rot.
Substrate Porosity: Protecting Fine Root Hairs
When mixing custom substrates for tropical aroids, reference our tested recipes in Best Soil Mix for Monstera. For delicate post-transplant watering without dislodging root zones, apply our method for Bottom Watering Plants.
Post-Repotting Recovery: Lighting and Humidity Care
Elevating ambient humidity to 60% during the first two weeks reduces transpiration demand while root tips re-establish hydraulic connectivity. Avoid applying concentrated chemical fertilizers for at least 4 to 6 weeks.
Frequently Asked Questions (FAQ)
What is the best time of year to repot houseplants?
Early spring through mid-summer is the ideal window. Lengthening daylight and warm temperatures trigger vigorous root cell division, enabling plants to recover from transplanting rapidly.
Should I remove all the old soil when repotting?
Only if the plant is suffering from root rot, pest infestation, or severe mineral salt buildup. For routine repotting, leave the central core intact to protect delicate microscopic root hairs from shock.
Should I fertilize immediately after repotting?
No. Fresh potting soils contain starter nutrients, and newly severed root tips are sensitive to fertilizer salts. Wait at least 4 to 6 weeks before resuming your regular feeding regimen.
How do I know if my pot is too big?
If there is more than 1.5 to 2 inches of empty soil between the root ball edge and the pot rim, the container is too large. Soil will take too long to dry, increasing the risk of rot.
Dennis P. Hansen
Dennis P. Hansen is a home gardener with a genuine passion for plants and the simple pleasure of growing them. He enjoys caring for houseplants, succulents, and other plants at home while continually learning from everyday gardening experiences. Dennis likes to share practical plant care tips, useful observations, and simple solutions that can help others grow healthier plants. He believes that caring for plants is a rewarding journey and that there is always something new to learn along the way.