
Best Houseplant Soil: 7 Proven Secrets for Thriving Roots

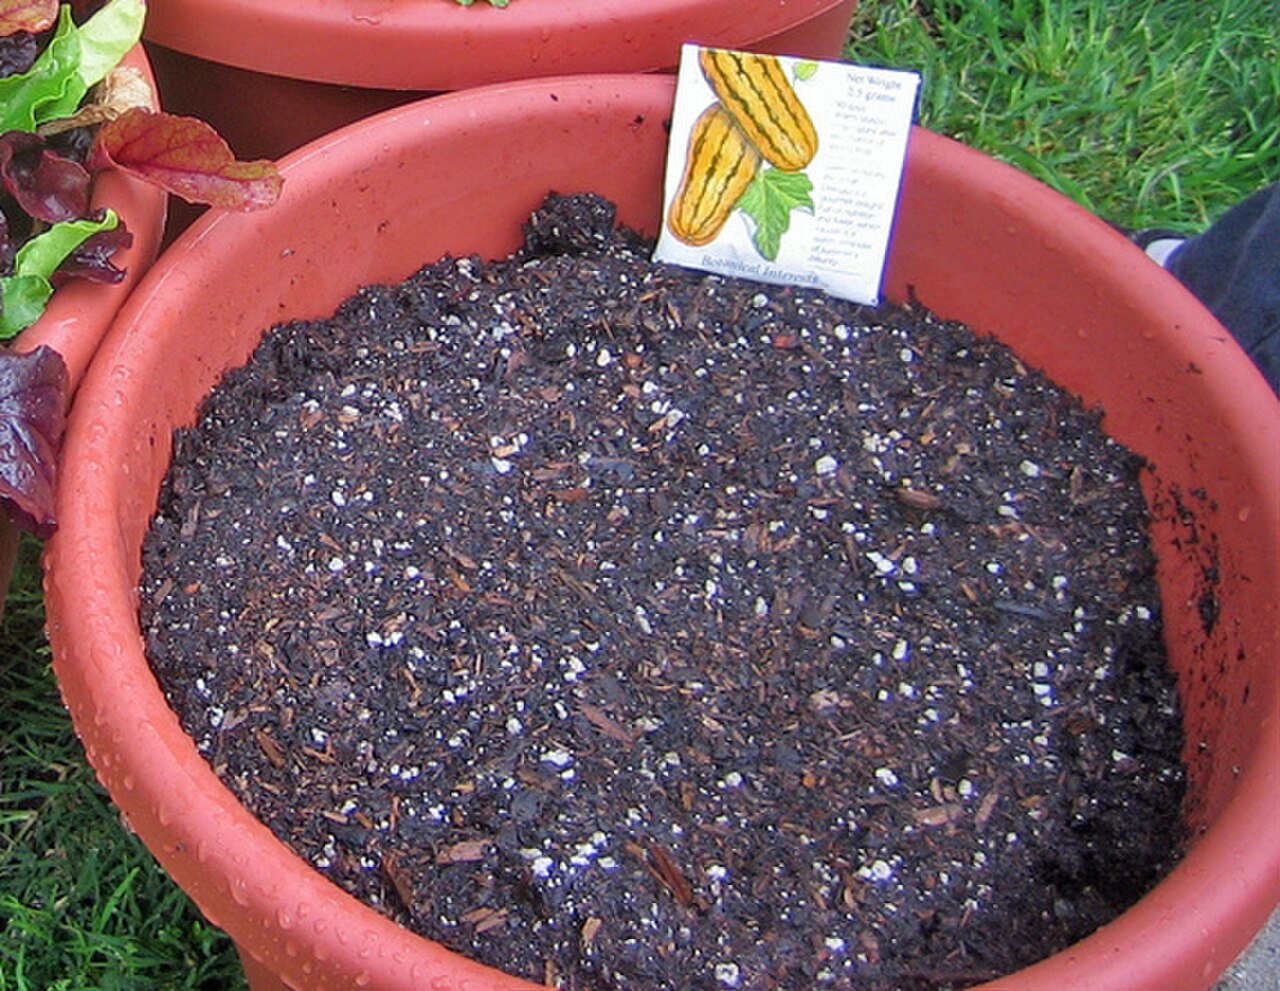
Most houseplant struggles begin beneath the soil line where eyes cannot see. My name is Dennis P. Hansen, and experimenting with indoor plants in my home taught me that choosing the best houseplant soil matters far more than buying expensive fertilizers or moisture meters. When root systems receive balanced oxygen and moisture, plants grow steady, resilient leaves with minimal effort. In this guide, you will learn the exact physical properties, soil ingredients, custom DIY recipes, and troubleshooting tests needed to give your indoor plants the ideal growing foundation.
Table of Contents
- Why Garden Dirt Fails in Indoor Containers
- The Anatomy of the Best Houseplant Soil: Aeration vs Moisture
- Core Ingredients Breakdown and Particle Sizing
- Custom DIY Soil Recipes for Popular Plant Families
- Soil Components and Functions Summary Table
- Dennis’s Advanced Troubleshooting for Potting Soil Problems
- Seasonal Soil Maintenance and Repotting Windows
- Frequently Asked Questions About Houseplant Soil
Why Garden Dirt Fails in Indoor Containers
One of the most common mistakes new plant parents make is digging up dark, fertile-looking soil from their backyard garden and packing it into an indoor flower pot. In an open outdoor garden bed, natural soil functions as part of a massive continuous ecosystem. Rainwater drains deep into lower subsoil horizons through capillary pull, while earthworms, beneficial nematodes, and burrowing insects continually create air channels. Outdoor soil also experiences wind evaporation and deep root competition that balances moisture levels naturally.
The moment you shovel garden soil into a container, that natural drainage plane breaks. Water cannot pull downward indefinitely; instead, it hits the bottom of the pot and forms what soil physicists call a perched water table. Garden soil contains microscopic silt and clay particles that pack tightly together when wet. Without earthworms and deep subsoil suction, those tiny particles settle into a dense, solid brick of mud. The pore spaces between soil particles collapse, driving out atmospheric oxygen.
Plant roots are living organs that carry out cellular respiration 24 hours a day. They absorb dissolved oxygen from air pockets between soil grains to metabolize carbohydrates and generate energy for cellular growth. When clay-heavy soil remains saturated, roots suffocate within 48 to 72 hours. Harmful anaerobic bacteria and water molds multiply rapidly in oxygen-deprived mud, attacking weakened root hairs and causing root rot. The best houseplant soil is not true outdoor soil at all; it is a carefully structured, soilless potting medium designed specifically for container physics.
The Anatomy of the Best Houseplant Soil: Aeration vs Moisture
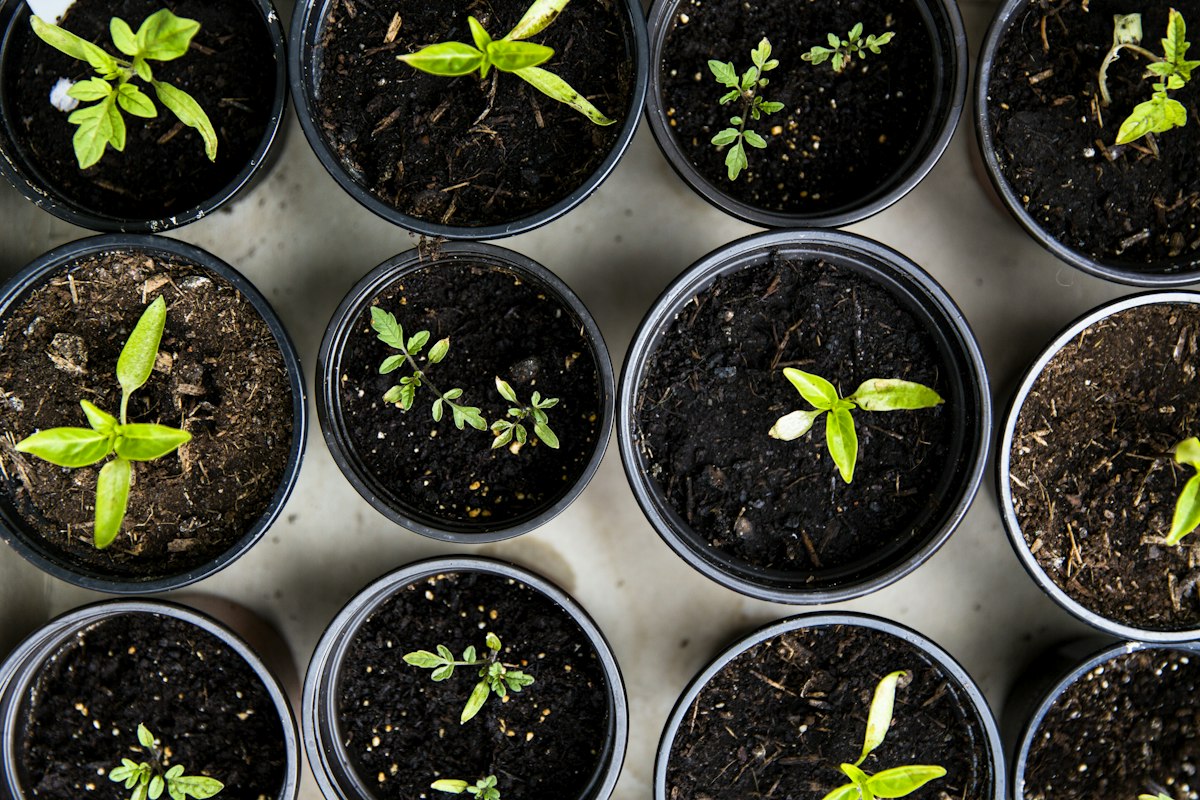
To understand what makes the best houseplant soil perform well, you must look at how water and air behave inside a confined pot. A successful potting mix satisfies two seemingly opposing requirements at the exact same time: it holds adequate water so roots stay hydrated, and it drains fast enough so air pockets remain open.
Every quality potting medium consists of two types of internal pores: micropores and macropores. Micropores are tiny, narrow spaces between fine organic fibers that hold water tightly against the force of gravity via capillary action. Macropores are large, open gaps created by chunky, irregular particles like perlite, pumice, and pine bark. When you water a plant, water rushes through the macropores, flushing away stale gasses and pulling fresh air down into the root zone as it drains out the bottom holes.
As documented in Penn State Extension research on soil oxygenation and root physiology, adequate pore space is necessary for root hair elongation and mineral uptake. In a well-aerated potting mix, total air-filled porosity should hover between 15% and 25% immediately after free gravitational drainage has finished. If your potting mix feels like a heavy wet sponge that takes three weeks to dry out, its air porosity has dropped near zero, placing your plants in immediate danger of root loss.
Core Ingredients Breakdown and Particle Sizing
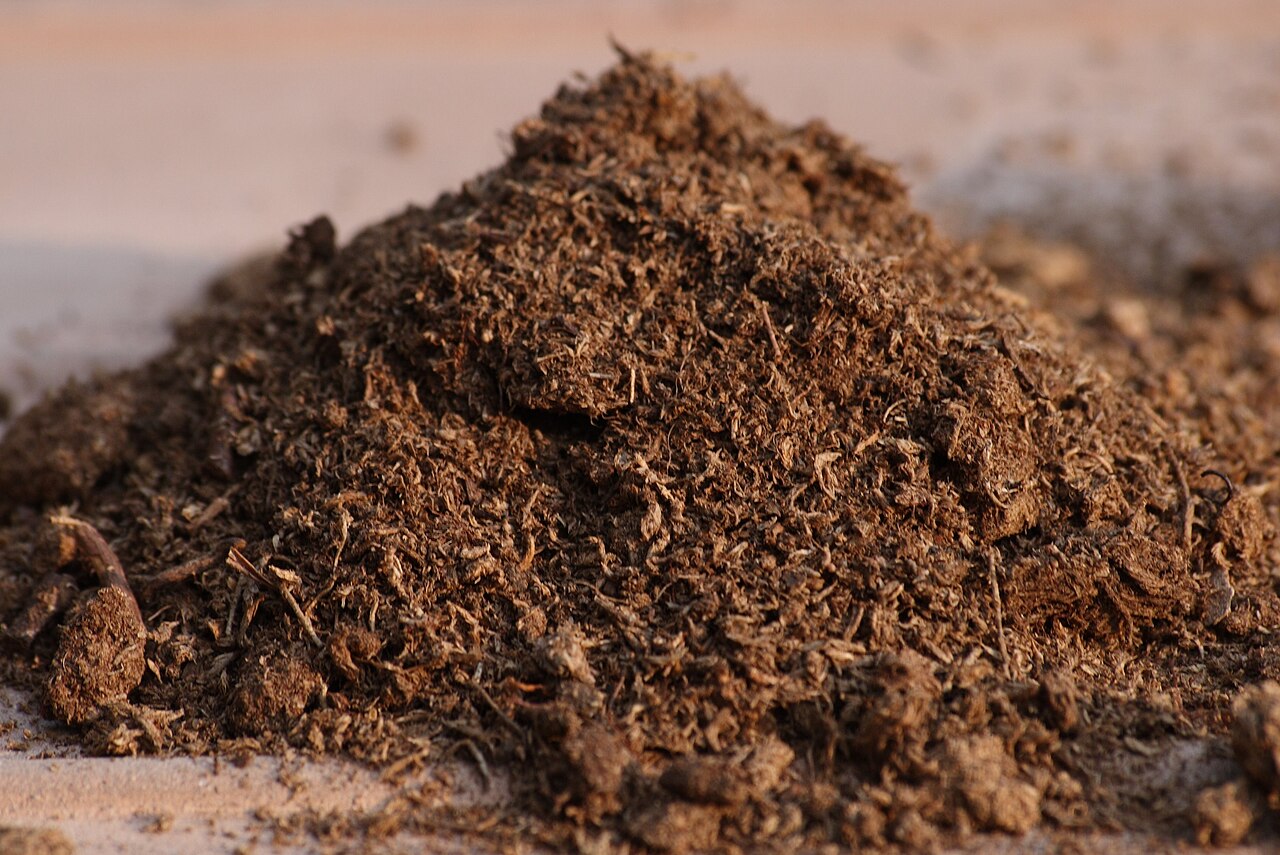
Commercial bagged potting soils labeled as “all-purpose” often contain 80% to 90% fine sphagnum peat moss or shredded wood waste. While inexpensive to manufacture, this fine texture packs down firmly within a few months of indoor watering. Blending your own mix or amending a basic potting bag gives you complete control over particle size and drainage speed.
1. Base Moisture Retainers: Sphagnum Peat Moss and Coconut Coir
Sphagnum peat moss has been the gold standard for container gardening for decades. It holds several times its dry weight in water while remaining naturally sterile and resistant to rapid decomposition. Peat has an acidic pH between 3.5 and 4.5, so commercial mixes add agricultural limestone to buffer the pH to a plant-friendly range of 6.0 to 6.5. Coconut coir, made from processed coconut husks, is a popular alternative. Coir wets easily without becoming hydrophobic and features a near-neutral pH around 5.8 to 6.8, though it holds slightly less oxygen than coarse Canadian peat moss.
2. Structural Aeration: Horticultural Perlite and Pumice
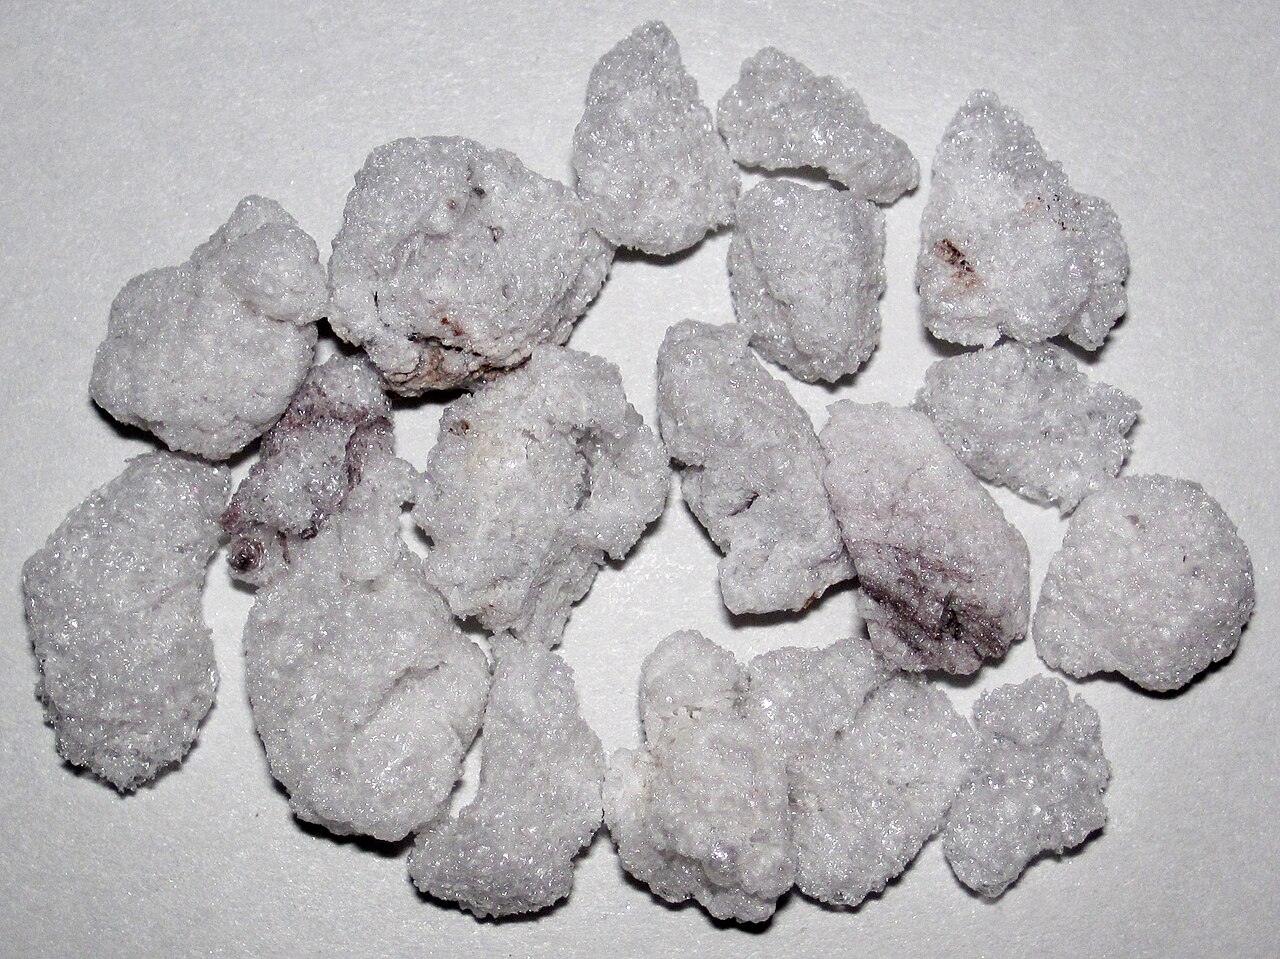
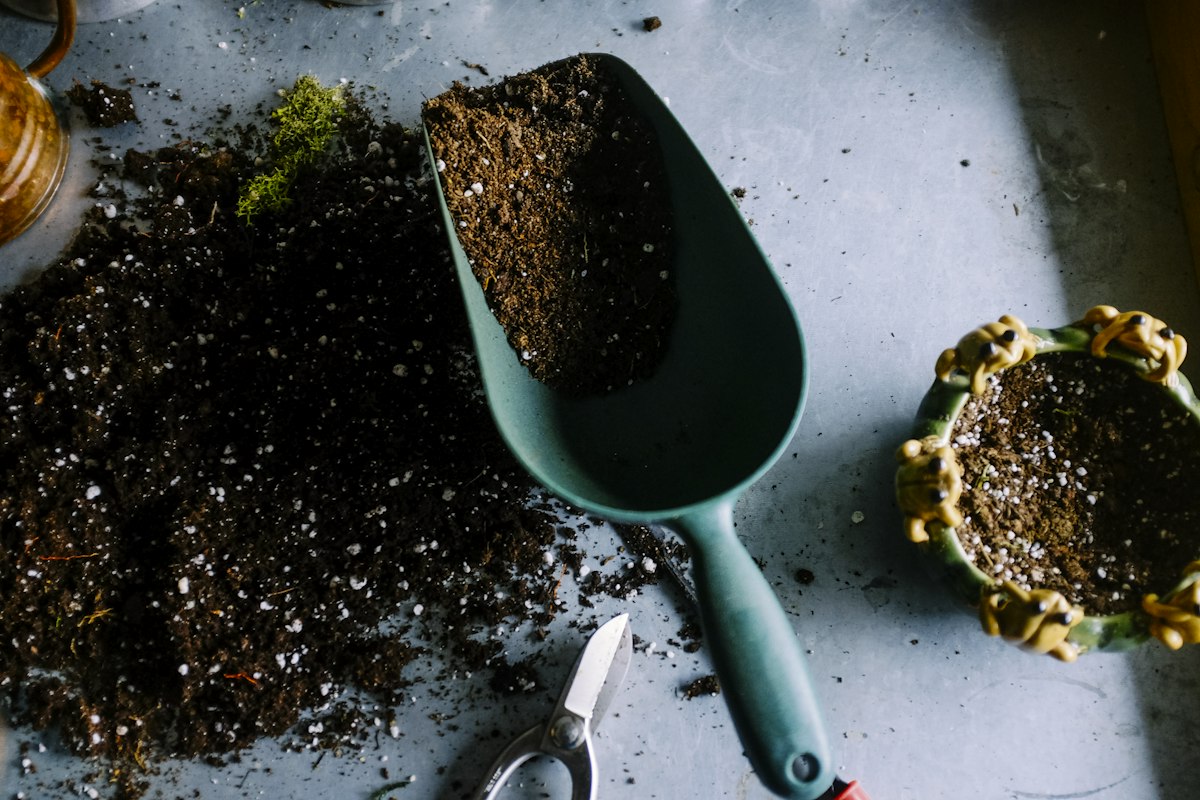
Perlite is a natural volcanic glass that expands like popcorn when heated to extreme temperatures. It is sterile, neutral, lightweight, and creates instant air gaps in dense peat. However, because perlite is very light, it tends to float to the top of the pot over months of watering. Horticultural pumice is an unexpanded volcanic rock that is heavier than perlite. It stays evenly distributed throughout the container, resists crushing, and provides long-lasting structural aeration for larger floor plants.
3. Chunky Organic Carbon: Pine Bark Fines and Orchid Bark
Composted pine bark fines or quarter-inch fir bark chips are the secret ingredient in professional tropical foliage mixes. Bark pieces range from one-eighth to one-half inch in size. Because bark breaks down very slowly, it prevents potting soil from collapsing into a solid mass. It also creates large, irregular voids that mimic the natural organic debris found on tropical forest floors, encouraging strong root branching.
4. Water Purification and Gas Absorption: Horticultural Charcoal
Horticultural charcoal consists of pure carbon with millions of microscopic surface pores. Adding activated or horticultural charcoal to your mix absorbs excess mineral salts from hard tap water, traps foul-smelling anaerobic gasses, and helps maintain a sweet, oxygen-rich root environment in containers that lack high air movement.
5. Natural Biology: Worm Castings
Pure peat and perlite contain zero plant nutrients. Adding 5% to 10% pure earthworm castings introduces gentle, slow-release nitrogen, phosphorus, and potassium, along with a rich community of beneficial soil microbes. Beneficial bacteria colonize root surfaces, helping to outcompete harmful fungi and making minerals readily bioavailable to the plant.
Custom DIY Soil Recipes for Popular Plant Families
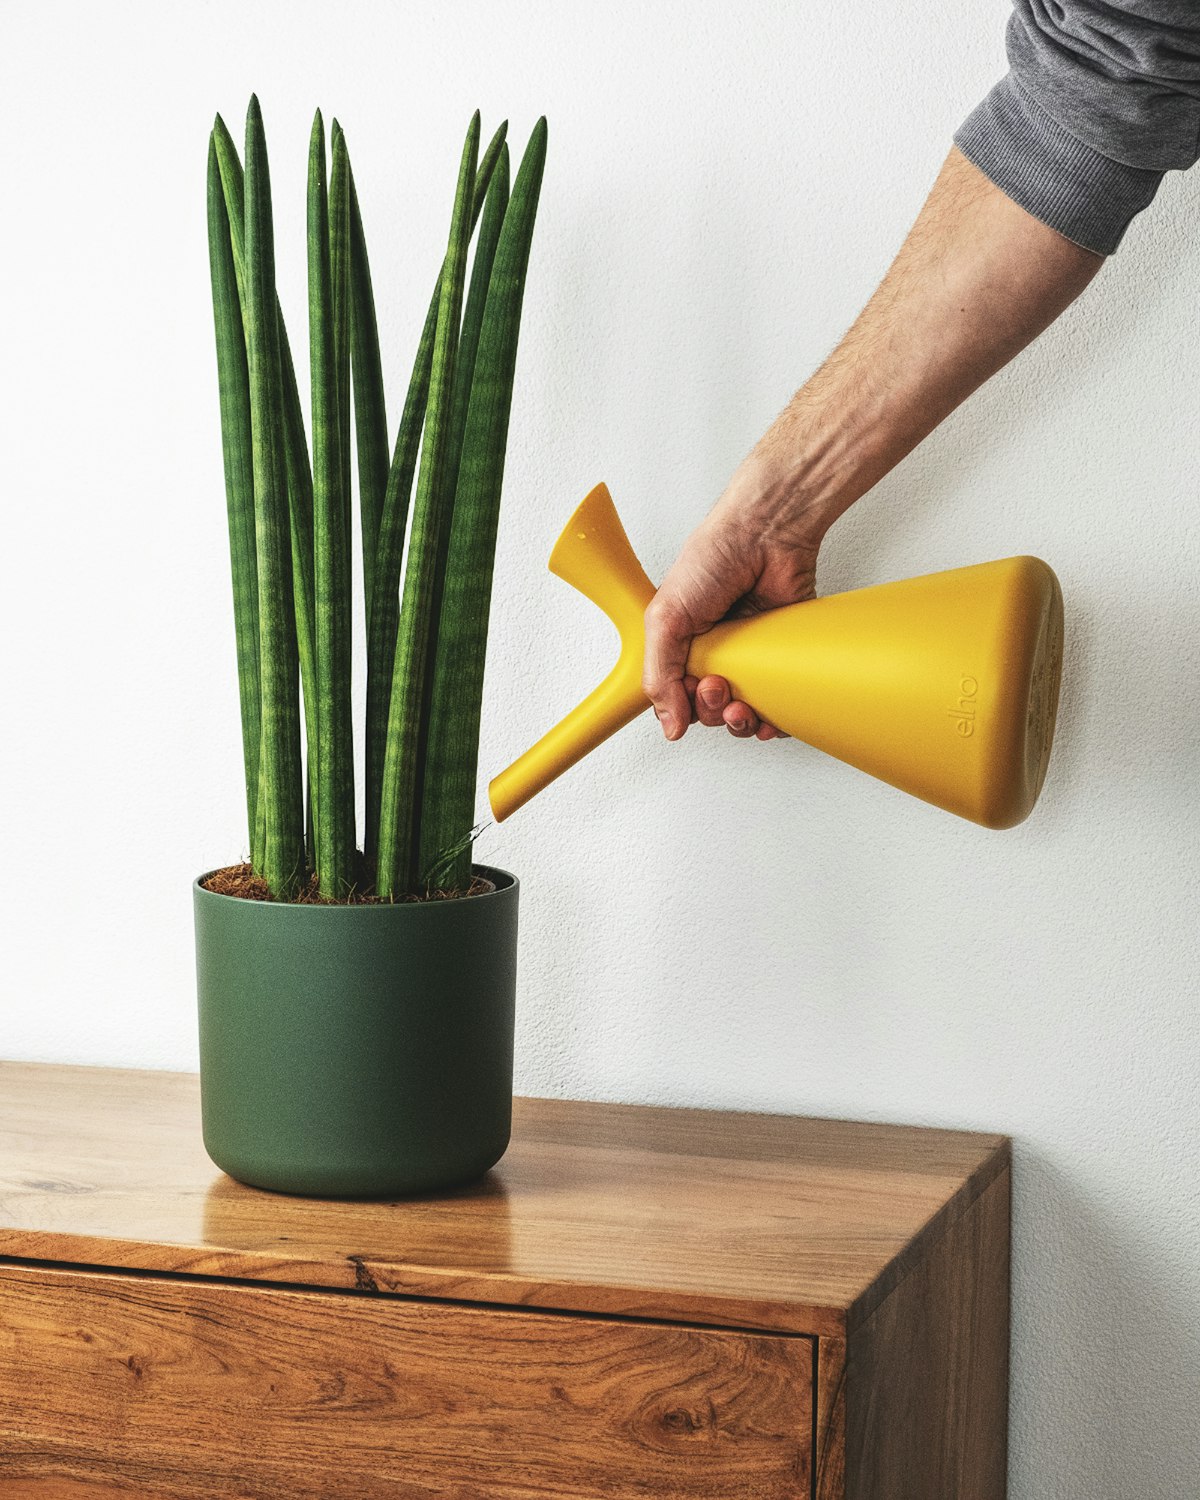
One single soil mix cannot satisfy every plant in your home. A desert cactus that stores gallons of water in its fleshy stems has completely different root requirements than a tropical fern or climbing monstera. Here are four specialized potting blends that provide the ideal balance for distinct indoor plant groups.
1. The Universal Indoor Foliage Blend (Pothos, Philodendron, Spider Plants)
This is my everyday workhorse mix for common leafy houseplants. It holds adequate moisture for 7 to 10 days while draining fast enough to prevent soggy roots.
- 2 parts high-quality peat moss or washed coconut coir
- 1 part coarse horticultural perlite
- 1 part pine bark fines or quarter-inch orchid bark
- 0.5 part worm castings for gentle baseline fertility
This mix provides an ideal foundation for beginners growing reliable greenery. To see how common foliage responds to different indoor substrates, consult Easy to Grow Houseplants: 7 Proven Joyful Choices for Homes.
2. The Chunky Tropical Aroid Blend (Monstera, Philodendron, Anthurium, Alocasia)
Tropical aroids are naturally hemiepiphytic climbers. In their native rainforests, their roots scramble over decaying tree bark and loose leaf litter rather than dense dirt. They require thick, chunky soil with exceptional oxygen flow.
- 2 parts coarse orchid bark (medium grade, roughly 1/2 inch)
- 1 part coarse horticultural perlite or pumice
- 1 part peat moss or coco coir chunks
- 0.5 part horticultural charcoal
- 0.5 part worm castings
When you pour water into this chunky mix, it cascades straight through the pot in three seconds, leaving the bark moist and the air channels open. For comprehensive guidance on aroid root care, explore Monstera Houseplant: 7 Proven Secrets for Indoor Jungle Foliage.
3. The Gritty Succulent and Desert Cactus Blend (Jade, Snake Plants, Echeveria)
Desert plants demand rapid drainage and zero moisture stagnation. Organic matter must be kept low to prevent rot.
- 1 part standard potting soil or sifted coir
- 2 parts coarse horticultural pumice or poultry grit
- 1 part coarse perlite or calcined clay
- 0.5 part coarse silica sand (avoid fine beach sand)
This gritty blend mimics desert gravel washes. Water passes through immediately, and the porous minerals dry out completely within 3 to 5 days, preventing stem collapse.
4. The Moisture-Retaining Peat Blend (Ferns, Calatheas, Fittonia, Peace Lilies)
Understory plants with very fine, hair-like root systems need consistent, even moisture. If their soil dries out completely, root hairs die within hours, leading to permanent leaf burn.
- 3 parts premium sphagnum peat moss
- 1 part washed coco coir
- 1 part fine perlite
- 0.5 part coarse vermiculite (to cushion moisture release)
- 0.5 part worm castings
Soil Components and Functions Summary Table
Understanding what each soil ingredient contributes allows you to tweak your potting mixes with confidence. The table below outlines common soil amendments and their physical roles.
| Soil Amendment | Primary Physical Function | Moisture Retention | Aeration Capacity | Lifespan in Container |
|---|---|---|---|---|
| Sphagnum Peat Moss | Holds water and soluble nutrients | Very High | Moderate | 1 to 2 years |
| Horticultural Perlite | Creates quick drainage and lightens weight | Low | Very High | Permanent (does not decay) |
| Pine Bark Fines | Provides coarse macropores and structure | Moderate | Very High | 2 to 3 years |
| Horticultural Pumice | Heavy mineral aeration; prevents compaction | Moderate | Exceptional | Permanent (volcanic rock) |
| Horticultural Charcoal | Absorbs impurities and sweetens mix | Low | High | 3 to 5 years |
| Pure Worm Castings | Supplies active microbes and gentle minerals | High | Low | Consumed in 3 to 6 months |
Dennis’s Advanced Troubleshooting for Potting Soil Problems
Even with good ingredients, indoor soil can develop physical or biological problems over time. Here are five common potting mix issues and how to fix them.
1. Soil Shrinks into a Hard Brick and Repels Water (Hydrophobia)
Visual Symptoms: The soil pulls away from the inside walls of the pot, leaving a half-inch gap. When you pour water onto the surface, it immediately sheets down the gap and drains out the bottom holes without soaking into the center.
Primary Cause: Peat moss contains natural waxy compounds. When peat dries out completely, those waxes harden, making the peat hydrophobic (water-repellent).
Diagnostic Inspection: Stick a wooden chopstick into the center of the root ball right after watering. If the chopstick comes out bone dry and covered in dust, the core is completely hydrophobic.
Corrective Action: Submerge the entire pot in a bucket or sink filled with lukewarm water up to the soil line. Weigh the pot down with a small clean brick or saucer. Leave it to soak for 30 to 45 minutes until the peat core absorbs water via capillary action. Lift the pot and let excess water drain completely.
Long-Term Prevention: Never allow peat-heavy mixes to dry past the top two inches. Amending your soil with 30% pine bark and coarse perlite prevents peat from forming an impenetrable crust.
2. Soil Remains Wet for More Than 14 Days After Watering
Visual Symptoms: The soil surface looks dark, feels heavy, and remains cold to the touch two weeks after a single watering. Leaves begin yellowing and falling off from the base upward.
Primary Cause: Soil compaction, oversized containers, blocked drainage holes, or low room light that stalls plant transpiration.
Diagnostic Inspection: Lift the pot. If it feels as heavy as a bowling ball two weeks after watering, the perched water table is stagnant. Check the drainage holes to confirm roots or soil have not plugged the openings.
Corrective Action: Move the plant to a brighter location to boost photosynthetic water uptake. Use a clean wooden skewer to poke vertical aeration holes deep into the root ball, allowing oxygen to reach the lower core. If soil still fails to dry, unpot the plant immediately, shake off the soggy mud, and repot into a smaller container filled with a chunky perlite-rich mix.
Long-Term Prevention: Always match pot size to root volume. The pot should only be one to two inches wider than the root ball.
3. Swarms of Tiny Black Flies Crawling on Soil (Fungus Gnats)
Visual Symptoms: Small, dark, gnat-like insects (Bradysia species) flutter around the pot rim or fly into your face when you water. Tiny translucent larvae with black head capsules crawl in the top inch of soil.
Primary Cause: Fungus gnat adults are attracted to damp, decaying organic matter. They lay hundreds of eggs in the top inch of wet peat moss.
Diagnostic Inspection: Scrape back the top quarter-inch of mix under bright light. If you see tiny white threads wriggling in the damp peat, gnat larvae are feeding on soil fungi and delicate root hairs.
Corrective Action: Allow the top two inches of soil to dry out thoroughly between waterings, which kills young larvae. Treat the soil with water containing Bacillus thuringiensis israelensis (BTI), a natural biological bacterium that targets gnat larvae without harming roots. Place yellow sticky cards horizontally across the pot rim to catch adult breeders.
Long-Term Prevention: Top-dress your indoor pots with a half-inch layer of coarse horticultural sand or fine pumice. Sand dries rapidly and prevents adult gnats from burrowing down to lay eggs.
4. White Crusty Chalk Deposits on Soil and Terracotta Rim
Visual Symptoms: A hard, chalky white or yellowish crust covers the top surface of the soil and forms a rough band around the inside and outside of terracotta pots. Plant leaf tips turn brown and crispy.
Primary Cause: Accumulation of fertilizer salts, calcium, and mineral carbonates from hard municipal tap water.
Diagnostic Inspection: Touch the white crust. If it feels hard and gritty rather than soft and fuzzy, it is mineral salt buildup rather than mold.
Corrective Action: Scrape off and discard the top inch of crusted soil. Leach the root zone by taking the pot to the sink and slowly flushing it with distilled water or rainwater for two to three minutes. Allow the water to run freely out the bottom holes to dissolve and carry away accumulated salts. Refill the surface with fresh, clean potting mix.
Long-Term Prevention: Dilute synthetic fertilizers to half or quarter strength, and flush pots thoroughly with clean water every three months.
5. Soil Smells Sour, Rotten, or Like Stagnant Swamp Mud
Visual Symptoms: The pot emits a foul, sulfurous, rotten-egg odor whenever you add water or move the container. The plant wilts even though the soil is wet.
Primary Cause: Total anaerobic conditions in the lower root zone. Beneficial aerobic microbes have died off, and anaerobic bacteria are fermenting decaying root tissue.
Diagnostic Inspection: Slide the plant out of its pot. If the lower root zone is black, slimy, and breaks down into foul-smelling mud, advanced root rot has set in.
Corrective Action: Wash away all old soil from the roots under running lukewarm water. Use sterilized shears to cut away every black, mushy, or stringy root until only firm, healthy tissue remains. Soak the remaining roots in a 3% hydrogen peroxide solution diluted with three parts water for ten minutes to kill remaining anaerobic pathogens. Repot into a clean pot with fresh, chunky aroid soil.
Long-Term Prevention: Never allow pots to sit in standing saucer runoff. Use porous containers and ensure mixes contain at least 30% perlite or pumice.
Seasonal Soil Maintenance and Repotting Windows
Potting soil is not permanent. Over 12 to 24 months of watering, organic peat fibers naturally decompose, shrink, and break into smaller dust-like particles. As this happens, soil compaction increases and air-filled porosity drops. Managing your soil according to seasonal rhythms keeps your plants growing steadily.
Spring Soil Renewal
Spring (March through May) is the ideal window to inspect soil health and repot indoor plants. Day length increases, room temperatures warm up, and plants break out of winter rest. When you repot into fresh mix during spring, root systems actively expand and settle into the new substrate quickly.
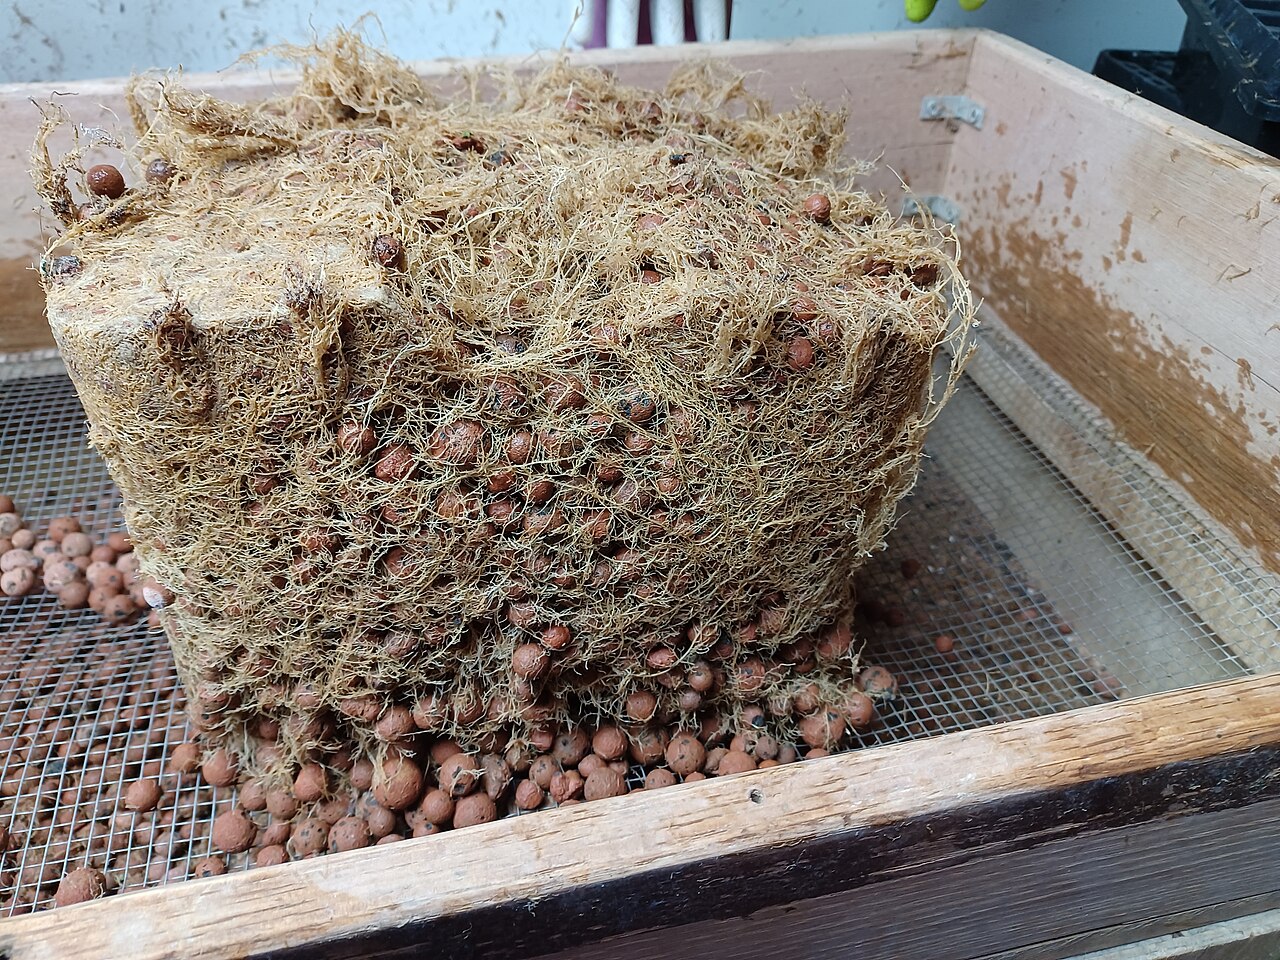
When unpotting, inspect the root ball. If roots wrap tightly around the outer circumference in dense circles, the plant is root-bound and has consumed most of the available soil volume. Gently loosen the outer root mass with your fingers before setting the plant into a new container that is one to two inches wider. Fill the surrounding cavity with fresh mix, ensuring the plant sits at the exact same depth as before.
Fall and Winter Precautions
Avoid major soil overhauls or aggressive repotting during late autumn and winter unless an emergency, such as severe root rot, forces your hand. Winter days provide less photosynthetic energy, and indoor plants drink water at less than half their summer pace. Moving a plant into a larger pot with extra soil volume in November creates an oversized wet sponge that takes weeks to dry, inviting fungal rot.
Instead, focus on winter surface maintenance. Gently scrape away the top half-inch of dusty or mineral-crusted soil and replace it with a fresh layer of clean peat and worm castings. Hold off on synthetic fertilizer applications until active spring growth returns. For further reading on safe fertilizing and seasonal nutrient timing, see Plant Food for Houseplants: 7 Proven Joyful Secrets for Thriving Indoor Foliage.
For additional botanical research on soil physical structure and commercial potting media recommendations, refer to the University of Maryland Extension guide to potting substrates, and consult the USDA Natural Resources Conservation Service Plants Database for specific species habitat and soil characteristics.
Frequently Asked Questions About Houseplant Soil
Can you use regular outdoor garden soil for indoor houseplants?
No, you should never use regular outdoor garden soil for indoor potted houseplants. Garden soil contains high proportions of heavy silt and clay particles that behave poorly inside confined containers. In an open garden, gravity and deep subsoil layers draw water downward naturally, but in a small flower pot, garden soil collapses into a dense, solid brick of mud. This eliminates essential air macropores, suffocating plant roots and causing rapid root rot. Furthermore, outdoor garden dirt carries weed seeds, parasitic nematodes, insect larvae, and fungal spores like Pythium directly into your living room. Always use a dedicated soilless indoor potting mix formulated with peat, perlite, and bark.
How do you know when houseplant potting soil needs to be replaced?
Houseplant potting soil typically needs replacement every 12 to 24 months as organic components break down. You can identify spent soil by several clear physical signs: the mix drains noticeably slower than it used to, water ponds on the surface before slowly sinking in, or the soil pulls away from the pot walls into a hard, hydrophobic brick. You may also see a persistent white crust of fertilizer salts on top or smell a stale, sour odor from the drainage holes. When soil decomposes, its pore spaces collapse, cutting off oxygen to roots and causing the plant to stop growing or develop yellowing lower leaves.
What is the difference between perlite, vermiculite, and pumice in potting soil?
While all three amendments improve container media, they serve different physical functions based on density and water capacity. Perlite is a superheated volcanic glass that is sterile, very lightweight, and holds almost zero water; its sole purpose is to create large air channels and accelerate drainage. Vermiculite is a layered silicate mineral that expands into spongy accordions; it holds significant amounts of moisture and dissolved nutrients, making it ideal for seedlings and moisture-loving ferns. Pumice is an unexpanded, heavier volcanic rock that provides permanent, non-crushing aeration; because it is heavier than perlite, pumice will not float to the top of the pot over time.
Why does brand-new potting soil stay wet for weeks without drying out?
Brand-new potting soil stays wet for weeks when its physical texture is too fine, when the pot lacks drainage, or when the container is much too large for the plant’s root ball. Inexpensive bagged potting soils are often composed almost entirely of fine peat dust and shredded wood flour, which packs together tightly when soaked and holds stagnant water. If your plant is placed in low indoor light, its transpiration rate slows down dramatically, meaning the plant consumes very little water from the soil. To fix this, mix in 30% coarse perlite and orchid bark to open up air pores, and move the plant to brighter light.
How do you get rid of white mold growing on top of houseplant soil?
White mold on the surface of potting soil is typically a harmless saprophytic fungus feeding on damp organic matter in peat moss. While it does not directly attack healthy plant stems, it signals that the top layer of soil is staying too wet, the air is stagnant, or light is insufficient. To remove it, scrape off the top quarter-inch of moldy soil using a clean spoon. Dust the fresh soil surface lightly with ground cinnamon or powdered horticultural charcoal, which possess natural antifungal properties. Improve room air movement with a small fan, let the top two inches of soil dry before watering, and switch to bottom watering.
Dennis P. Hansen
Dennis P. Hansen is a home gardener with a genuine passion for plants and the simple pleasure of growing them. He enjoys caring for houseplants, succulents, and other plants at home while continually learning from everyday gardening experiences. Dennis likes to share practical plant care tips, useful observations, and simple solutions that can help others grow healthier plants. He believes that caring for plants is a rewarding journey and that there is always something new to learn along the way.