
Houseplant Seeds: 7 Proven Steps to Grow Joyful Plants

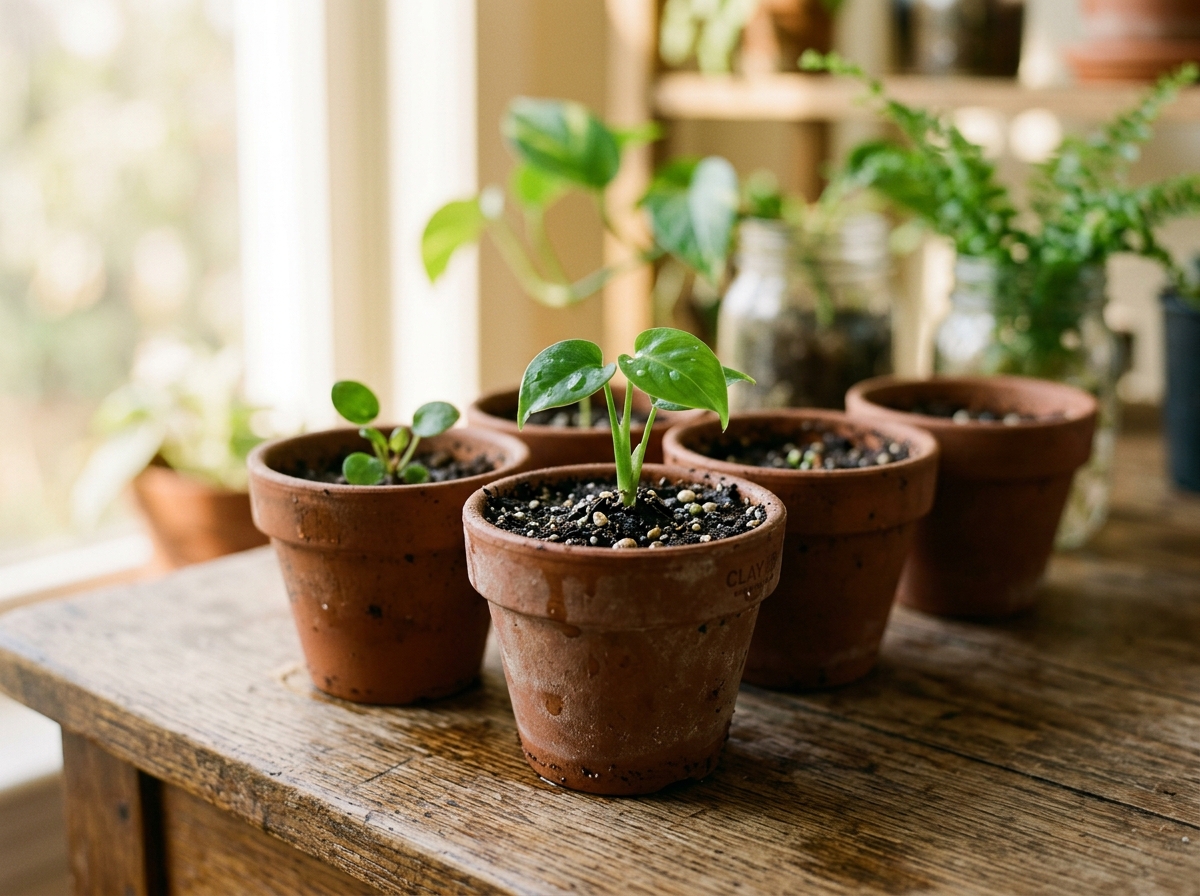
Growing houseplants from stem cuttings or nursery pots is convenient, but starting houseplant seeds indoors offers a completely different kind of satisfaction. My name is Dennis P. Hansen, and in my home plant space, raising tropical foliage from seed taught me how root systems form, how early moisture balance works, and how young plants adapt to room conditions. In this guide, you will learn the exact practical steps, soil mixes, humidity methods, and troubleshooting checks needed to grow healthy houseplant seeds into thriving indoor greenery.
Table of Contents
- Understanding Houseplant Seed Selection and Viability
- Comprehensive Care Guide for Starting Houseplant Seeds Indoors
- Houseplant Species Germination Profile Table
- Dennis’s Advanced Troubleshooting for Seedlings
- Seasonal Timing and Environmental Adjustments
- Potting On and Long-Term Seedling Development
- Frequently Asked Questions About Houseplant Seeds
Understanding Houseplant Seed Selection and Viability
Starting houseplant seeds requires different expectations than sowing annual outdoor vegetables. Radishes or marigolds pop through the soil in three days, but tropical foliage seeds follow their own natural schedule. Many popular indoor varieties, such as Monstera deliciosa, Philodendron, Anthurium, and various palm species, produce recalcitrant or semi-recalcitrant seeds. In botany, this means the seeds lose their internal viability quickly if they dry out completely. When you purchase houseplant seeds, freshness is the single most important factor determining whether you see green sprouts or empty dirt.
Whenever I order seeds for my own home collection, I check the harvest date and packaging method. Reputable seed suppliers pack tropical seeds in moisture-retaining pouches or ship them in lightly dampened vermiculite. If you receive seeds that look shriveled, brittle, or dusty, germination rates drop significantly. Hard-coated seeds, like asparagus fern or coffee plant beans, tolerate dry storage better, but they often require pre-soaking in lukewarm water for 12 to 24 hours to soften their outer seed coats before planting.
Understanding early embryonic plant development also helps you avoid mistakes during the first few weeks. As explained in detail by Penn State Extension’s research on seed and seedling biology, a seed contains three fundamental components: the protective seed coat (testa), the nutrient storage tissue (endosperm or cotyledons), and the embryo itself. When you provide moisture, oxygen, and warmth, the seed absorbs water through a process called imbibition. This hydration activates internal enzymes, causing the embryo cells to divide and expand. The embryonic root, known as the radicle, breaks through the seed coat first to anchor into the soil before the green shoot emerges toward the light.
Comprehensive Care Guide for Starting Houseplant Seeds Indoors
Giving houseplant seeds the right start comes down to controlling four physical conditions: substrate composition, moisture levels, soil temperature, and light intensity. When these four elements work together, seeds sprout evenly and roots establish without fungal rot.
1. Sterile Seed-Starting Substrate
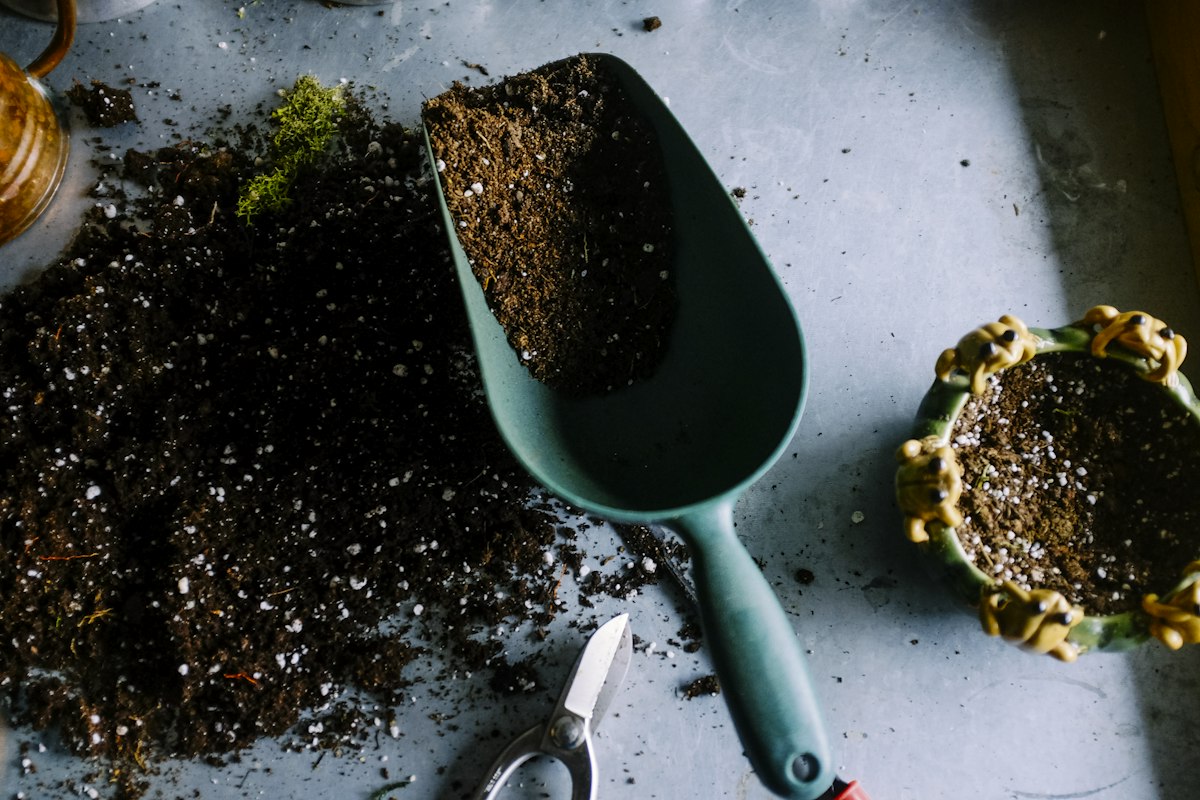
Never scoop dirt from your garden or reuse soil from an old houseplant pot to start seeds. Garden soil contains heavy clay, weed seeds, and soil-borne fungal spores that attack tender seedlings within hours of sprouting. Instead, make or buy a dedicated sterile soilless seed-starting mix. A reliable blend consists of finely milled sphagnum peat moss or washed coconut coir combined with equal parts fine horticultural perlite and coarse vermiculite.
Peat moss and coco coir hold adequate moisture while remaining loose enough for tiny radicles to penetrate without resistance. Perlite creates air pockets so root tissues receive oxygen. Vermiculite acts as a moisture cushion, releasing water gradually around the seed coat. Before placing the mix into your seed trays, moisten it thoroughly in a clean bucket with warm water. The mix should feel like a wrung-out kitchen sponge. If you squeeze a handful of mix and water streams through your fingers, it is too wet and needs more dry peat or perlite.
2. Container Choice and Drainage Setup
Clean containers prevent seedling disease. You can use standard plastic cell flats, shallow propagation trays, or small 2-inch plastic nursery pots. Wash previously used plastic pots in hot water with a mild dish soap, then rinse them clean before filling. Every single cell or pot must have functional drainage holes at the bottom. Water that sits stagnant in the bottom of a container cuts off oxygen to the embryo, rotting the seed before it has a chance to push out its first root.
Fill the containers loosely to the rim with your damp mix. Tap the tray gently on your table to settle the mix, then level the surface with a small wooden ruler or your fingers. Do not pack the soil down firmly with heavy thumb pressure. Compacted soil prevents fragile roots from spreading and traps excess water around the seed.
3. Sowing Depth and Technique
A good general rule of thumb for sowing any seed is to bury it at a depth equal to two or three times its thickness. Large seeds, such as coffee beans or palm seeds, can be planted a quarter-inch to a half-inch deep. Medium seeds, such as Monstera or citrus, sit comfortably under an eighth-inch layer of fine mix or vermiculite.
Extremely fine houseplant seeds, including African violets, begonias, and many carnivorous species, need light to trigger germination. If you bury these dust-like seeds under a layer of soil, they remain dormant and rot. Scatter fine seeds across the damp surface of the soil mix. Press them down very gently with the flat pad of your finger so they make direct contact with the damp substrate, but leave them completely uncovered so light reaches the seed coat.
4. Controlled Moisture and Bottom Watering
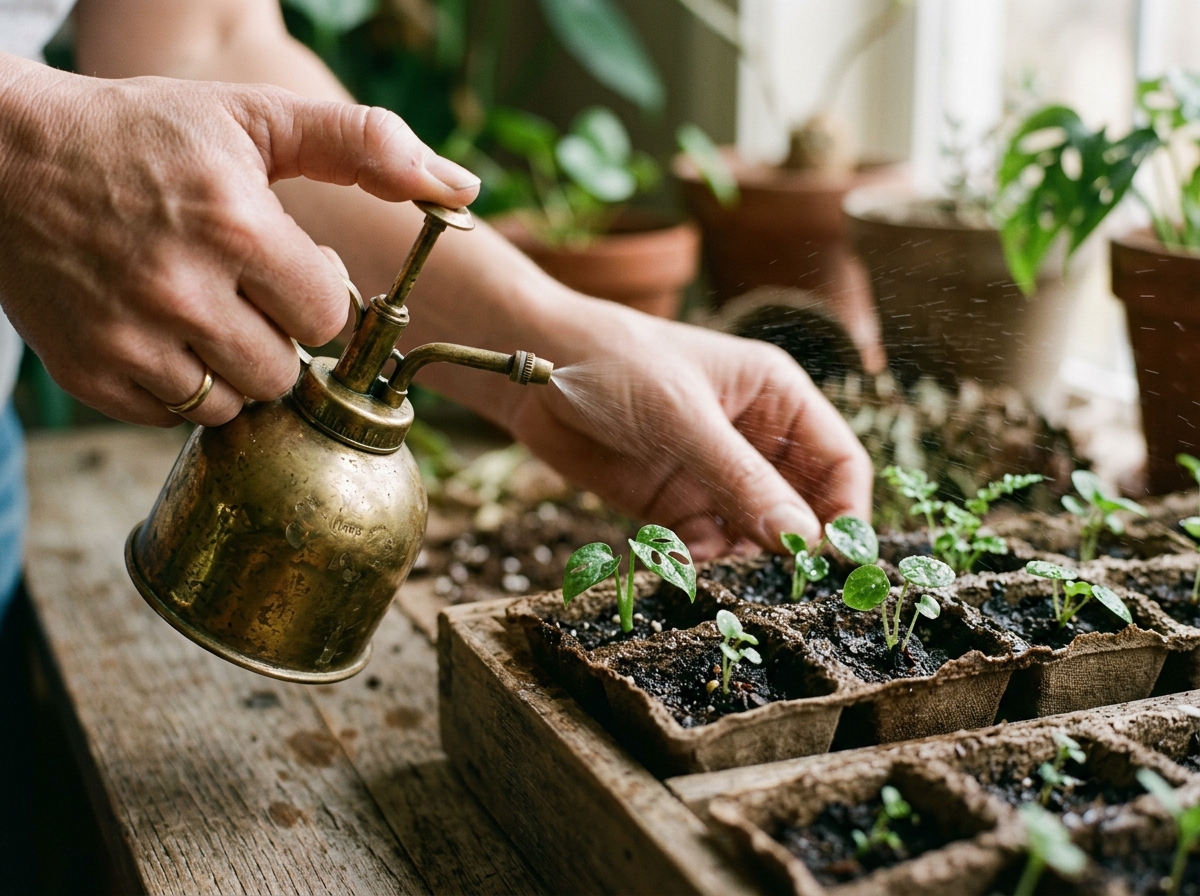
Watering seeds from above with a heavy watering can is one of the easiest ways to ruin a seedling flat. Heavy droplets wash tiny seeds into corners, bury them too deeply in the mud, or expose fragile emerging roots. During the germination phase, use a fine handheld misting bottle to keep the surface evenly damp.
Once seedlings emerge, switch to bottom watering. Pour room-temperature water into the solid bottom tray holding your cell flats. Allow the pots to soak up water through their bottom drainage holes via capillary action for 15 to 20 minutes. As soon as the top surface of the mix appears evenly dark and moist, dump out any leftover water from the bottom tray. This encourages the root system to reach downward into the container while keeping the delicate stem collar dry, reducing the risk of fungal decay.
5. Soil Temperature and Heat Mats
Most tropical houseplant seeds originate in warm equatorial rainforest understories. They germinate best when the soil temperature stays consistently between 72°F and 80°F (22°C to 27°C). If your indoor room temperature hovers around 65°F (18°C), the soil in a shallow tray can easily drop to 60°F due to evaporative cooling. Cold, damp soil delays germination and creates ideal conditions for fungal pathogens.
Placing an electric waterproof seedling heat mat beneath your trays maintains consistent bottom warmth. Keep the heat mat plugged into a digital thermostat probe inserted into one of the central soil cells. Bottom heat accelerates cell division, softens the seed coat faster, and cuts germination time in half for many tropical species. Once the majority of seeds in a tray have sprouted and unfolded their seed leaves, you can turn off the heat mat to prevent seedlings from growing soft and leggy.
6. Humidity Control and Dome Management
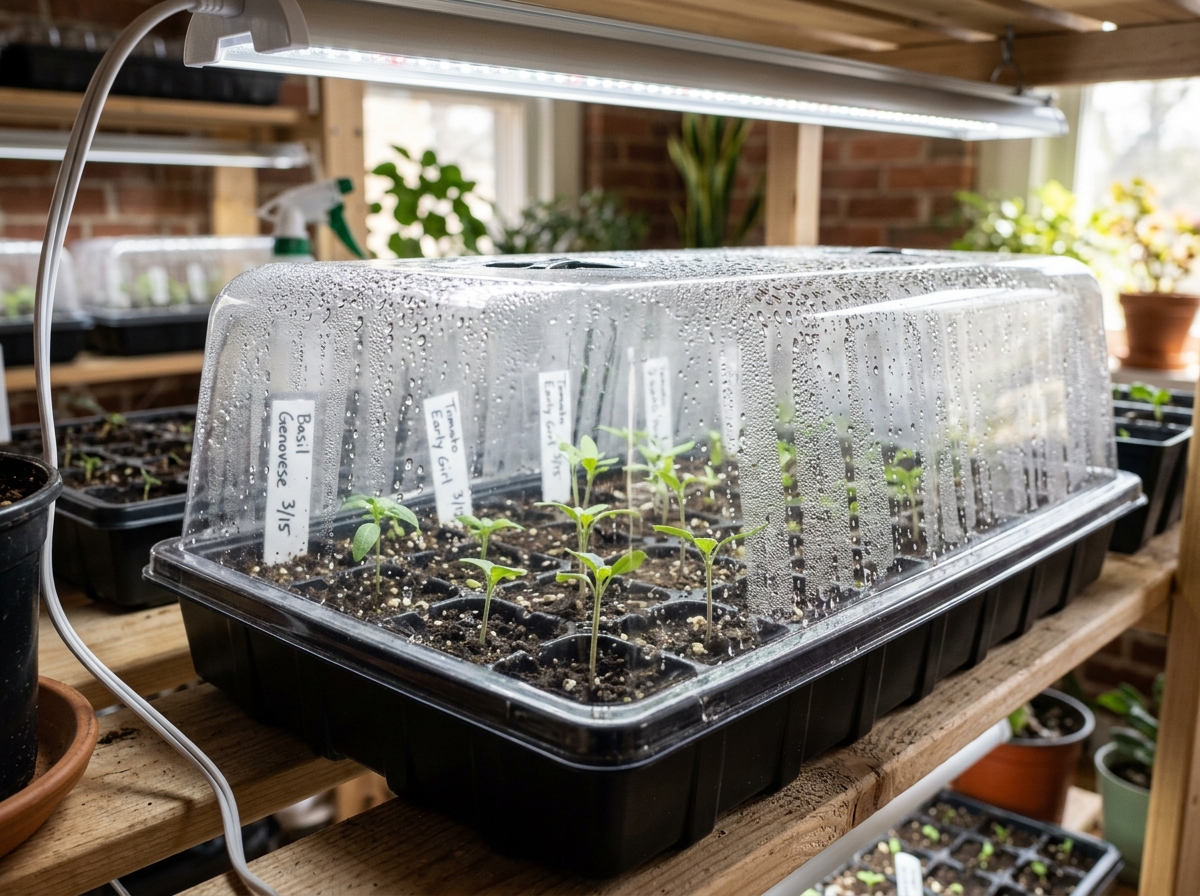
A clear plastic humidity dome or clean plastic wrap over your seed tray traps moisture, creating an enclosed microclimate. This prevents the top eighth-inch of soil from drying out while seeds are swelling and breaking open. Check your humidity dome daily. If heavy water droplets form on the plastic ceiling and drip onto the soil, tilt the dome or open the built-in ventilation vents to allow fresh air movement.
Stagnant, saturated air combined with warm temperatures encourages gray mold and damping-off fungi. As soon as you see the first green shoots emerge from the soil, prop open the edge of the dome with a small wooden clothespin to increase airflow. Remove the dome entirely within three to four days after the seedlings emerge so the foliage can breathe and adapt to normal room air.
7. Light Requirements and Grow Light Management
While some seeds can germinate in the dark, every seedling requires strong, direct light the moment its green shoot breaks the soil surface. Window sills in winter or spring often provide uneven, weak light that forces seedlings to stretch their stems toward the glass. This results in weak, spindly, pale green seedlings that easily fall over under their own weight.
A simple LED or T5 fluorescent grow light positioned 3 to 5 inches directly above the tops of the seedlings provides reliable illumination. Keep the lights on an automatic timer set for 14 to 16 hours of light per day, followed by 8 hours of darkness. Darkness is necessary because plants carry out essential metabolic respiration and root development during the dark cycle. As the seedlings grow taller, adjust the height of your light fixture upward to maintain that 3-to-5-inch spacing.
For gardeners looking to balance indoor collections alongside seed propagation, reviewing Easy to Grow Houseplants: 7 Proven Joyful Choices for Homes provides helpful context on how different plant families respond to indoor light and humidity levels.
Houseplant Species Germination Profile Table
Different houseplant species have unique seed shapes, germination timelines, and temperature preferences. The table below outlines key practical growing requirements for popular indoor plants started from seed.
| Plant Species | Seed Preparation | Sowing Depth | Soil Temperature | Germination Window | Light for Sprouting |
|---|---|---|---|---|---|
| Monstera deliciosa | Sow immediately; do not let dry | 1/4 inch | 75°F to 80°F | 14 to 28 days | Diffused light or darkness |
| Coleus scutellarioides | None required | Surface sow; press gently | 70°F to 75°F | 7 to 14 days | Requires light to sprout |
| Coffea arabica | Soak in warm water 24 hours | 1/2 inch | 78°F to 82°F | 40 to 60 days | Darkness preferred |
| Asparagus setaceus | Scarify seed coat lightly | 1/4 inch | 70°F to 78°F | 21 to 35 days | Cover with light mix |
| Indoor Cactus Mix | Mix with fine sand for distribution | Surface sow; dust lightly | 75°F to 85°F | 14 to 45 days | Bright filtered light |
| Pilea peperomioides | Surface sow; keep damp | Surface sow; press gently | 68°F to 74°F | 14 to 21 days | Bright indirect light |
Dennis’s Advanced Troubleshooting for Seedlings
Even with clean supplies and careful watering, indoor seedlings occasionally run into trouble. Here are the five most common challenges I see when growing houseplant seeds at home, along with practical steps to fix and prevent them.
1. Seedlings Collapsing at the Base (Damping-Off)
Visual Symptoms: Healthy young seedlings suddenly collapse at the soil line overnight. The base of the stem looks thin, water-soaked, pinched, or dark brown, while the top leaves remain green for a day or two before withering.
Primary Cause: Damping-off is caused by soil-borne fungal pathogens, most commonly species of Pythium, Rhizoctonia, or Fusarium. These fungi thrive in cool, overly wet soil with poor air circulation.
Diagnostic Inspection: Use a magnifying glass to inspect the soil line. If the stem tissue feels mushy, looks translucent, or breaks away when touched gently, damping-off has destroyed the vascular system.
Corrective Action: Remove and discard all infected seedlings immediately along with their immediate soil plug. Do not add them to compost. Increase air circulation around the remaining healthy seedlings by setting up a small electric fan on the lowest speed across the room. Stop misting the soil surface and switch exclusively to bottom watering. Dusting the surrounding dry soil surface with a very thin layer of cinnamon powder or powdered horticultural charcoal helps inhibit fungal spread.
Long-Term Prevention: Always sanitize pots in hot water before reuse. Never use garden soil. Keep the soil temperature above 72°F during germination and remove plastic humidity covers as soon as the first seeds break the surface.
2. Tall, Weak, Stretched Seedlings (Etiolation)
Visual Symptoms: Seedlings have very long, pale, wire-thin stems with tiny, underdeveloped leaves that tilt sharply toward one side of the room. The stems cannot support their own weight and lean against the pot rim.
Primary Cause: Inadequate light intensity or light sources placed too far away. The seedling expends all its stored carbohydrate reserves stretching upward in search of usable photons for photosynthesis.
Diagnostic Inspection: Check the distance between your light source and the top leaves. If you are relying on a window sill or have your grow light mounted 12 inches above the flats, light intensity drops by more than 75% due to the inverse-square law.
Corrective Action: Lower your grow lights until they sit 3 to 4 inches directly above the seedlings. If you are using a sunny window, move the tray to a dedicated grow light shelf. Provide 14 hours of continuous light daily. For seedlings that are leaning but still stand upright, gently mound a quarter-inch of dry seed mix around the base of the stems to give them physical support.
Long-Term Prevention: Set up proper overhead lighting before sowing houseplant seeds. Never rely on natural winter light alone for germinating tropical houseplants indoors.
3. Seeds Failing to Germinate Within Expected Timelines
Visual Symptoms: The soil surface remains empty weeks past the expected germination window with no green shoots or signs of movement.
Primary Cause: Seed non-viability, old stock, improper temperature, or planting too deeply. If tropical seeds dry out during transit, the internal embryo dies. Low soil temperatures also keep seeds in deep dormancy.
Diagnostic Inspection: Using a clean toothpick, gently scrape away the top layer of mix where you planted a seed. Inspect the seed body. If the seed is mushy, hollow, or smells sour, it has decayed. If the seed is firm, plump, and clean, it is still viable and waiting for higher warmth or moisture to break dormancy.
Corrective Action: Check your heat mat thermostat. Raise the soil temperature by 3°F to 5°F to ensure it stays in the 75°F to 80°F range. Ensure the soil remains damp without being waterlogged. If the seed was buried too deeply, move it closer to the surface.
Long-Term Prevention: Source seeds from specialized botanical suppliers who state harvest dates clearly. Check whether the species requires light to sprout before covering it with soil.
4. White Fuzzy Mold or Green Algae on Soil Surface
Visual Symptoms: A fine layer of white cottony fuzz appears across the peat surface, or the top of the mix develops a slippery green film.
Primary Cause: High humidity, low air movement, and soil kept too wet under warm lights. Green algae feeds on moisture and light, while saprophytic fungi break down organic matter in the peat.
Diagnostic Inspection: Touch the white fuzz with a toothpick. If it is sitting solely on the soil particles and has not attached to seedling stems, it is harmless saprophytic mold rather than damping-off fungus. Green algae also indicates surface saturation.
Corrective Action: Remove the humidity dome completely. Use a toothpick to gently cultivate and break up the top eighth-inch of soil surface, allowing air to reach the particles. Let the top surface dry out slightly between waterings. Increase room air circulation with a gentle fan pointed away from the seedlings.
Long-Term Prevention: Never leave sealed domes over seedling flats after seeds emerge. Water from the bottom so the top soil crust stays drier.
5. Seed Coat Stuck on Emerging Cotyledons (“Helmet Head”)
Visual Symptoms: The seedling pushes out of the soil, but the hard outer seed coat remains clamped over the tip of the leaves like a helmet, preventing the seed leaves from opening.
Primary Cause: The seed was planted too shallowly, or the air inside the room is too dry, causing the outer shell to dry out and harden before the seedling can slip free.
Diagnostic Inspection: Check if the cotyledons are trapped inside the shell. If left alone in dry air, the trapped leaves cannot photosynthesize, and the seedling eventually starves.
Corrective Action: Do not pull the hard shell off dry with your fingers, as you will rip the head off the seedling. Instead, place a single drop of warm water directly onto the seed shell using an eye dropper or your fingertip. Wait 10 to 15 minutes for the shell to soften. Gently touch the shell with the side of a clean toothpick. If it is soft enough, it will slide off easily without pulling on the stem.
Long-Term Prevention: Lightly firm the soil above medium and large seeds when sowing so the friction of the soil helps strip the seed coat as the seedling pushes upward. Maintain adequate humidity during the early sprouting phase.
Seasonal Timing and Environmental Adjustments
Timing your seed starting according to indoor conditions and plant biology makes a measurable difference in seedling vigor. While outdoor gardens depend on spring frost dates, indoor tropical houseplant seeds can technically be started year-round if you provide artificial heat and light.
Spring and Summer Sowing
Spring is the ideal season to start houseplant seeds. Natural day length increases, ambient indoor humidity rises, and room temperatures stay warmer. Seedlings started in March, April, or May take advantage of the entire summer growing season to develop strong root balls and several sets of true leaves before winter arrives.
During active spring growth, seedlings metabolize water and nutrients quickly. You will need to check soil moisture daily, especially if you have a heat mat running or bright grow lights operating for 14 hours. Keep air circulation steady to prevent fungal issues as indoor temperatures climb.
Fall and Winter Sowing
Starting houseplant seeds in late autumn or winter requires extra environmental controls. Indoor heating systems lower ambient humidity significantly, often dropping home air down to 25% or 30%. This dry air dries out the top layer of shallow seedling flats rapidly, even while the bottom remains soggy.
In winter, a heat mat and reliable LED grow lights are mandatory. Do not rely on window sills in winter because cold drafts leaking past glass panes cool the soil down into the 50s, stopping germination completely. Keep seedling trays inside enclosed propagation boxes or use clear humidity covers with adjustable vents to protect them from dry, moving radiator air.
For additional guidance on adjusting foliage care during cold weather, review Monstera Houseplant: 7 Proven Secrets for Indoor Jungle Foliage, which covers winter humidity and watering schedules in detail.
Potting On and Long-Term Seedling Development
A seed starter tray is a temporary nursery, not a permanent home. Once seeds sprout, their immediate nutritional reserves inside the cotyledons deplete, and their root systems need more space and minerals to continue growing.
Identifying the First True Leaves
The first leaves that emerge from a seed are called cotyledons or seed leaves. In most dicot houseplant species, cotyledons have simple, rounded, oval shapes that look nothing like the mature foliage of the adult plant. For example, a Monstera deliciosa seedling first produces simple oval leaves without any splits or fenestrations.
Within two to four weeks after sprouting, the seedling pushes out its first set of true leaves from its central growth point. True leaves display the characteristic leaf shape, veining, and texture of the adult plant. Wait until a seedling has produced at least two complete sets of true leaves before attempting to repot or separate it.
Thinning and Separating Seedlings
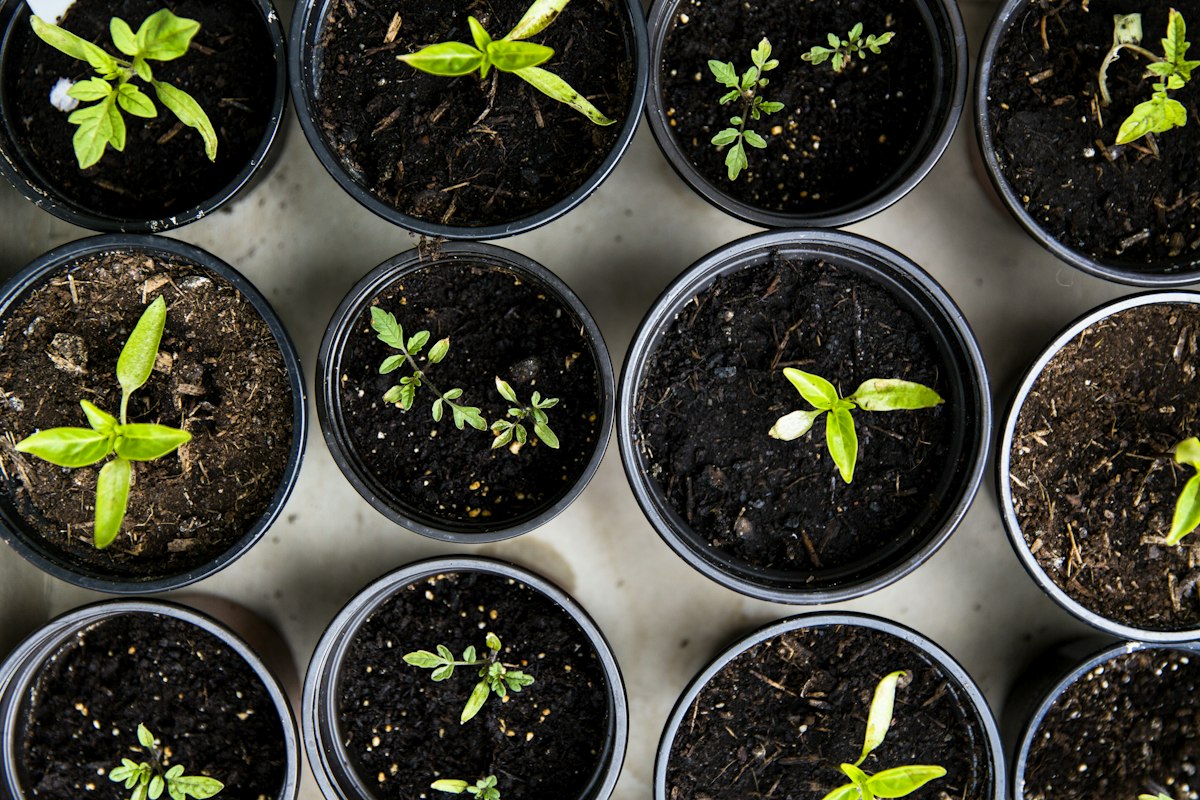
If you sowed multiple seeds in a single cell, you must thin them to prevent crowding. Crowded seedlings compete for light and nutrients, resulting in weak, spindly plants. Instead of pulling extra seedlings out by their roots, which tears the delicate root system of the keeper seedling, use clean micro-tip pruning snips to snip the weaker seedlings off at the soil line.
If you want to save every seedling, gently unpot the cell plug when the soil is lightly damp. Tease the root systems apart slowly using a clean wooden skewer or chopstick. Handle seedlings exclusively by their leaves, never by their main stem. A bruised or crushed stem will rot and kill the seedling, whereas a damaged leaf can be replaced quickly by new growth.
Potting Mix and First Containers
Move your separated seedlings into small individual containers, such as 2.5-inch or 3-inch plastic nursery pots. Do not place tiny seedlings directly into huge 6-inch or 8-inch pots. Excess soil volume holds too much water, keeping the root zone soggy for weeks and leading to root asphyxiation.
For this first potting on, transition the plant to a slightly richer but still free-draining potting mix. Combine two parts high-quality potting soil, one part coarse perlite, and one part pine bark fines or coarse horticultural pumice. Make a small hole in the center of the pot with your finger, settle the seedling roots into the cavity at the exact same depth it was growing previously, and gently press the soil around the base to anchor it.
Nutritional Support and Fertilizer Schedules
Sterile seed mixes contain virtually zero mineral nutrients. While seedlings rely on the stored energy inside their seed leaves during the first two weeks, they need supplemental nutrition once true leaves expand and active photosynthesis begins.
Begin feeding with a balanced, gentle liquid houseplant fertilizer diluted to one-quarter of the manufacturer’s recommended strength. Apply this diluted fertilizer once every two weeks following a regular watering. Avoid full-strength synthetic fertilizers on young seedlings, as concentrated mineral salts burn tender root tips and turn leaf margins brown. For an in-depth breakdown of safe feeding schedules and gentle indoor plant nutrients, consult Plant Food for Houseplants: 7 Proven Joyful Secrets for Thriving Indoor Foliage.
As detailed by the University of Maryland Extension guide to starting seeds indoors, hardening off young indoor plants to changes in temperature, light intensity, and air movement before moving them into their permanent household locations builds thicker cell walls and sturdier stems. You can also research individual plant species records and geographical taxonomy through the USDA Natural Resources Conservation Service Plants Database to confirm natural habitat requirements.
Frequently Asked Questions About Houseplant Seeds
How long do houseplant seeds take to germinate indoors?
Germination timelines for houseplant seeds vary widely depending on the botanical species, the freshness of the seed batch, and your indoor soil temperature. Fast-sprouting varieties like Coleus or Pilea can show green cotyledons within 7 to 14 days when kept warm. Tropical aroid seeds, such as Monstera deliciosa and Philodendron, usually take between 14 and 28 days under consistent bottom warmth of 75°F to 80°F. Slower, hard-coated species like Asparagus setaceus or Coffea arabica frequently require 30 to 60 days to break dormancy. Maintaining consistent substrate moisture and preventing the soil from dropping below 70°F ensures seeds sprout as quickly as their biology allows.
Do houseplant seeds need light to germinate or should they stay dark?
Whether houseplant seeds require light or darkness depends on seed size and natural seed coat chemistry. Very fine, dust-like seeds, such as those of African violets, begonias, and carnivorous plants, require light exposure to trigger enzymatic growth. These seeds must be surface-sown and pressed gently into the substrate without any soil covering them. Larger seeds with thick, protective outer coats, including Monstera, palms, and coffee beans, germinate reliably in darkness or diffused light because they are buried beneath a thin layer of soil. However, the exact moment any seedling emerges from the soil, it immediately requires strong, direct light from a grow light to begin photosynthesis and prevent stretching.
Why do houseplant seeds get moldy on top of the soil?
Surface mold develops on seed trays when there is excessive moisture, stagnant air circulation, and warm temperatures trapped under an unventilated humidity dome. The white cottony fuzz is typically saprophytic fungus feeding on organic material in the peat moss or coir. While harmless to adult plants, heavy mold growth suffocates emerging seedlings and invites parasitic damping-off fungi. You can clear this mold by removing the clear plastic dome, gently scraping the crust of the soil with a clean toothpick, and setting up a small room fan on low speed. Switching to bottom watering keeps the top layer of soil drier and stops mold spores from growing.
When should you transplant seedlings grown from houseplant seeds into individual pots?
Do not rush to transplant seedlings while they only possess their initial pair of rounded seed leaves, known as cotyledons. Cotyledons draw nutrition from the seed itself, and the young root system is still fragile and easily severed. Wait until the seedling has developed at least two complete sets of true leaves, which usually occurs between three and six weeks after germination. At this stage, the root system is sturdy enough to handle relocation. Always transplant into small 2.5-inch or 3-inch containers filled with an airy, well-draining soil mix, and lift the young plants by their leaves rather than pinching their fragile stems.
How do you feed houseplant seedlings after they germinate?
Seedlings do not require any fertilizer during their first two weeks because the seed endosperm supplies all the carbohydrates and minerals necessary to produce early roots and cotyledons. However, because sterile soilless seed mixes contain no natural nutrients, you must introduce gentle feeding once the first set of true leaves fully expands. Use a balanced, water-soluble indoor houseplant fertilizer mixed at one-quarter of the normal label strength. Apply this diluted solution once every two weeks right after bottom watering. Never apply full-strength fertilizer to young seedlings, as concentrated mineral salts will quickly scorch their tender root hairs and burn leaf margins.
Dennis P. Hansen
Dennis P. Hansen is a home gardener with a genuine passion for plants and the simple pleasure of growing them. He enjoys caring for houseplants, succulents, and other plants at home while continually learning from everyday gardening experiences. Dennis likes to share practical plant care tips, useful observations, and simple solutions that can help others grow healthier plants. He believes that caring for plants is a rewarding journey and that there is always something new to learn along the way.