
How to Get Rid of Thrips on Indoor Plants: Complete Guide


Few indoor gardening challenges induce panic quite like discovering thrips on indoor plants (order Thysanoptera). These microscopic, fringed-wing insects feed by piercing plant cells and rasping the chlorophyll directly out of the tissue, leaving behind silvery patches, distorted new foliage, and black speckles of frass (fecal matter). Because female thrips deposit their eggs directly inside plant tissue where contact sprays cannot reach them, eradicating them requires a methodical multi-week protocol rather than a single haphazard application.
| Diagnostic Parameter | Dennis’s Observation | Critical Action Required |
|---|---|---|
| Visual Symptoms | Silvery or bronze bleached patches, curled new unfurling leaves, black specks of frass. | Inspect leaf undersides with a 10x jeweler’s loupe or smartphone zoom lens. |
| Primary Life Stages | Egg (in-tissue), Larva/Nymph (foliar feeding), Pupa (soil substrate), Adult (flying). | Treat foliage and substrate simultaneously to break life cycle overlap. |
| Treatment Cycle | Life cycle spans 14 to 30 days depending on ambient household temperature. | Repeat foliar treatments every 4 to 5 days for a minimum of 4 consecutive weeks. |
| Most Vulnerable Plants | Monstera deliciosa, Philodendron, Anthurium, Calathea, and Ficus lyrata. | Immediate quarantine in a separate room away from all other plant collections. |
Understanding Thrips on Indoor Plants: Life Cycle & Identification

To eliminate thrips permanently, you must understand their developmental biology. Adult females use an ovipositor to slice microscopic slits into stems and leaves, inserting 150 to 300 eggs beneath the plant cuticle. Surface sprays cannot harm these sheltered eggs. After several days, wingless nymphs emerge to feed aggressively on leaf sap before dropping down into the potting substrate to pupate.
Because pupae reside in the top layers of soil, a simple foliar wash ignores an entire generation waiting to emerge as flying adults. Complete eradication requires treating both the foliage and the root-zone substrate concurrently.
Step-by-Step Thrip Eradication Protocol
Follow this exact 5-step greenhouse protocol developed over 15 years of diagnosing indoor foliage collections:
According to entomological research from the University of California Statewide IPM Program, successful eradication requires breaking both the foliar feeding stage and the subterranean pupal stage simultaneously.
Step 1: Immediate Quarantine and Physical Knockdown
Carry the infested plant to a bathroom or outdoor area immediately. Cover the pot’s soil surface with a plastic bag to prevent dislodged pests from falling into the substrate. Using a lukewarm, moderate-pressure shower spray, thoroughly hose down every leaf surface, paying meticulous attention to petiole crevices and leaf undersides where nymphs cluster.
Step 2: Prune Irreparably Damaged Leaves
Using sharp, sterilized pruning shears, remove heavily damaged or curled leaves that are yellowing or covered in dense frass. Because female thrips prefer depositing eggs in fresh or actively damaged leaf tissue, pruning reduces the egg reservoir significantly.
Step 3: Thorough Foliar Application of Insecticidal Soap
Spray the plant until it is dripping wet with an organic potassium salts of fatty acids solution or horticultural insecticidal soap. Fatty acid soaps dissolve the waxy protective cuticle of exposed nymphs and adults, causing rapid dehydration. Ensure complete coverage of leaf stems, axils, and undersides in low-light conditions to avoid leaf scorch.
Step 4: Substrate Treatment and Pupae Neutralization
Target the soil-dwelling pupae by either drenching the top layer of substrate with a dilute neem oil solution or deploying beneficial soil predators such as Stratiolaelaps scimitus (hypoaspis miles predatory mites) or beneficial nematodes (Steinernema feltiae). These microscopic predators hunt thrip pupae in the soil without harming roots.
Step 5: Deploy Blue Sticky Traps and Maintain Strict 4-Week Schedule
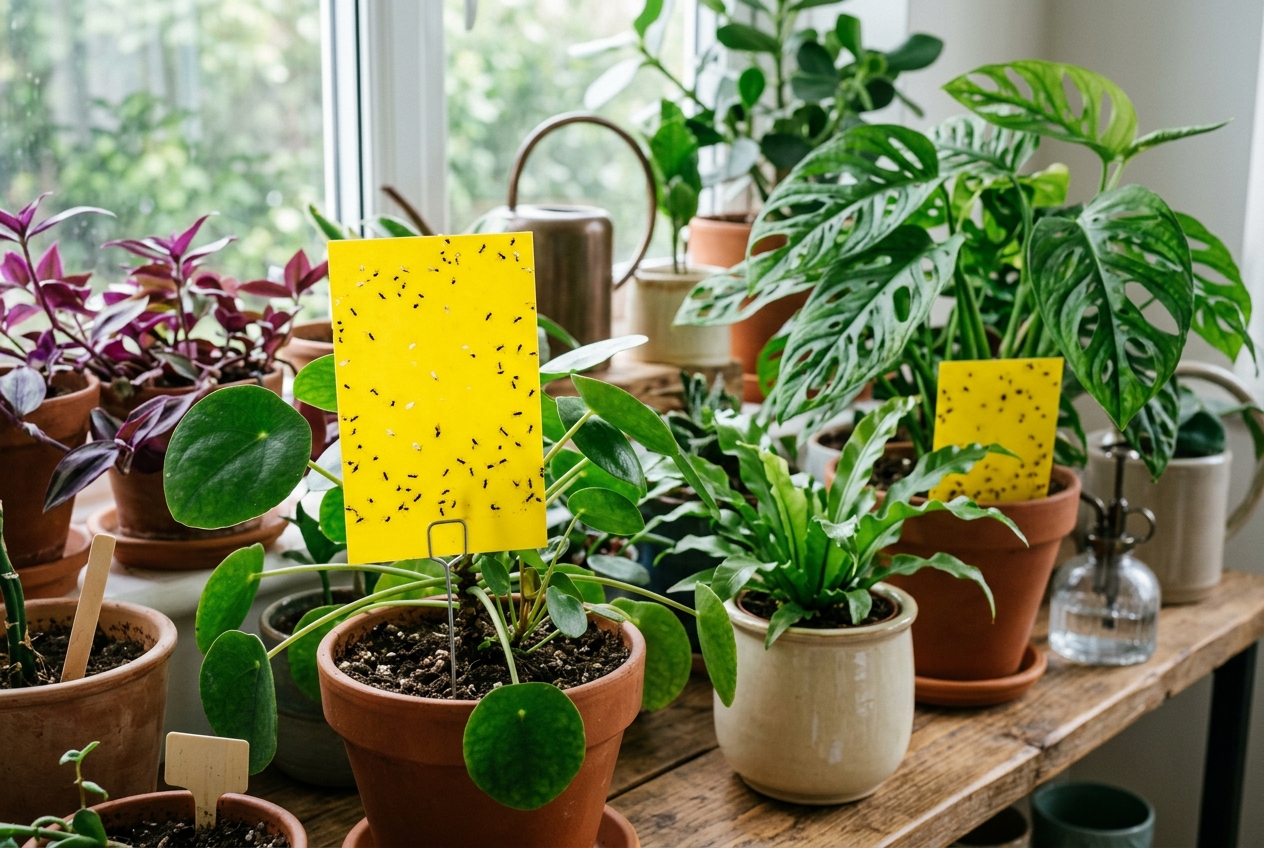
Hang blue sticky monitoring cards directly above the plant canopy. Thrips are visually drawn to blue wavelengths more strongly than yellow. Reapply your foliar spray every 4 to 5 days for 4 continuous weeks to catch newly hatched nymphs before they mature and lay new eggs.
Potassium Salts of Fatty Acids & Horticultural Neem
Horticultural-grade insecticidal soap combined with pure cold-pressed neem disrupts the soft cuticle of nymph thrips and prevents feeding without synthetic chemical buildup.
Preventing Future Infestations
Once your plants are clean, prevention is your best defense. Always isolate newly purchased houseplants for 14 days before introducing them to your main collection. Maintain ambient relative humidity between 50% and 60%, as dry indoor air accelerates thrip reproduction. Regularly wipe foliage with a damp microfiber cloth to remove dust and detect early pest populations before they establish colonies.
Frequently Asked Questions About Houseplant Thrips
Can thrips fly between houseplants?
Yes. While thrips are weak fliers, their fringed wings allow them to flutter between plants in close proximity, and indoor air currents from fans and HVAC vents can carry them across entire rooms.
Does rubbing alcohol kill thrips on contact?
A 70% isopropyl alcohol solution diluted 1:1 with water will kill exposed adult thrips and nymphs on contact, but it will not kill eggs embedded inside plant tissue or pupae living in the soil substrate.
How long does it take to completely eradicate thrips?
Complete eradication typically requires 3 to 5 weeks of diligent, repeated treatments spaced 4 to 5 days apart to interrupt the full life cycle across all development stages.
Why are blue sticky traps better than yellow for thrips?
While fungus gnats and whiteflies are drawn to bright yellow cards, thrips have phototactic sensitivity toward blue wavelengths, making blue sticky cards significantly more effective for thrip monitoring.
Dennis P. Hansen
Dennis P. Hansen is a home gardener with a genuine passion for plants and the simple pleasure of growing them. He enjoys caring for houseplants, succulents, and other plants at home while continually learning from everyday gardening experiences. Dennis likes to share practical plant care tips, useful observations, and simple solutions that can help others grow healthier plants. He believes that caring for plants is a rewarding journey and that there is always something new to learn along the way.